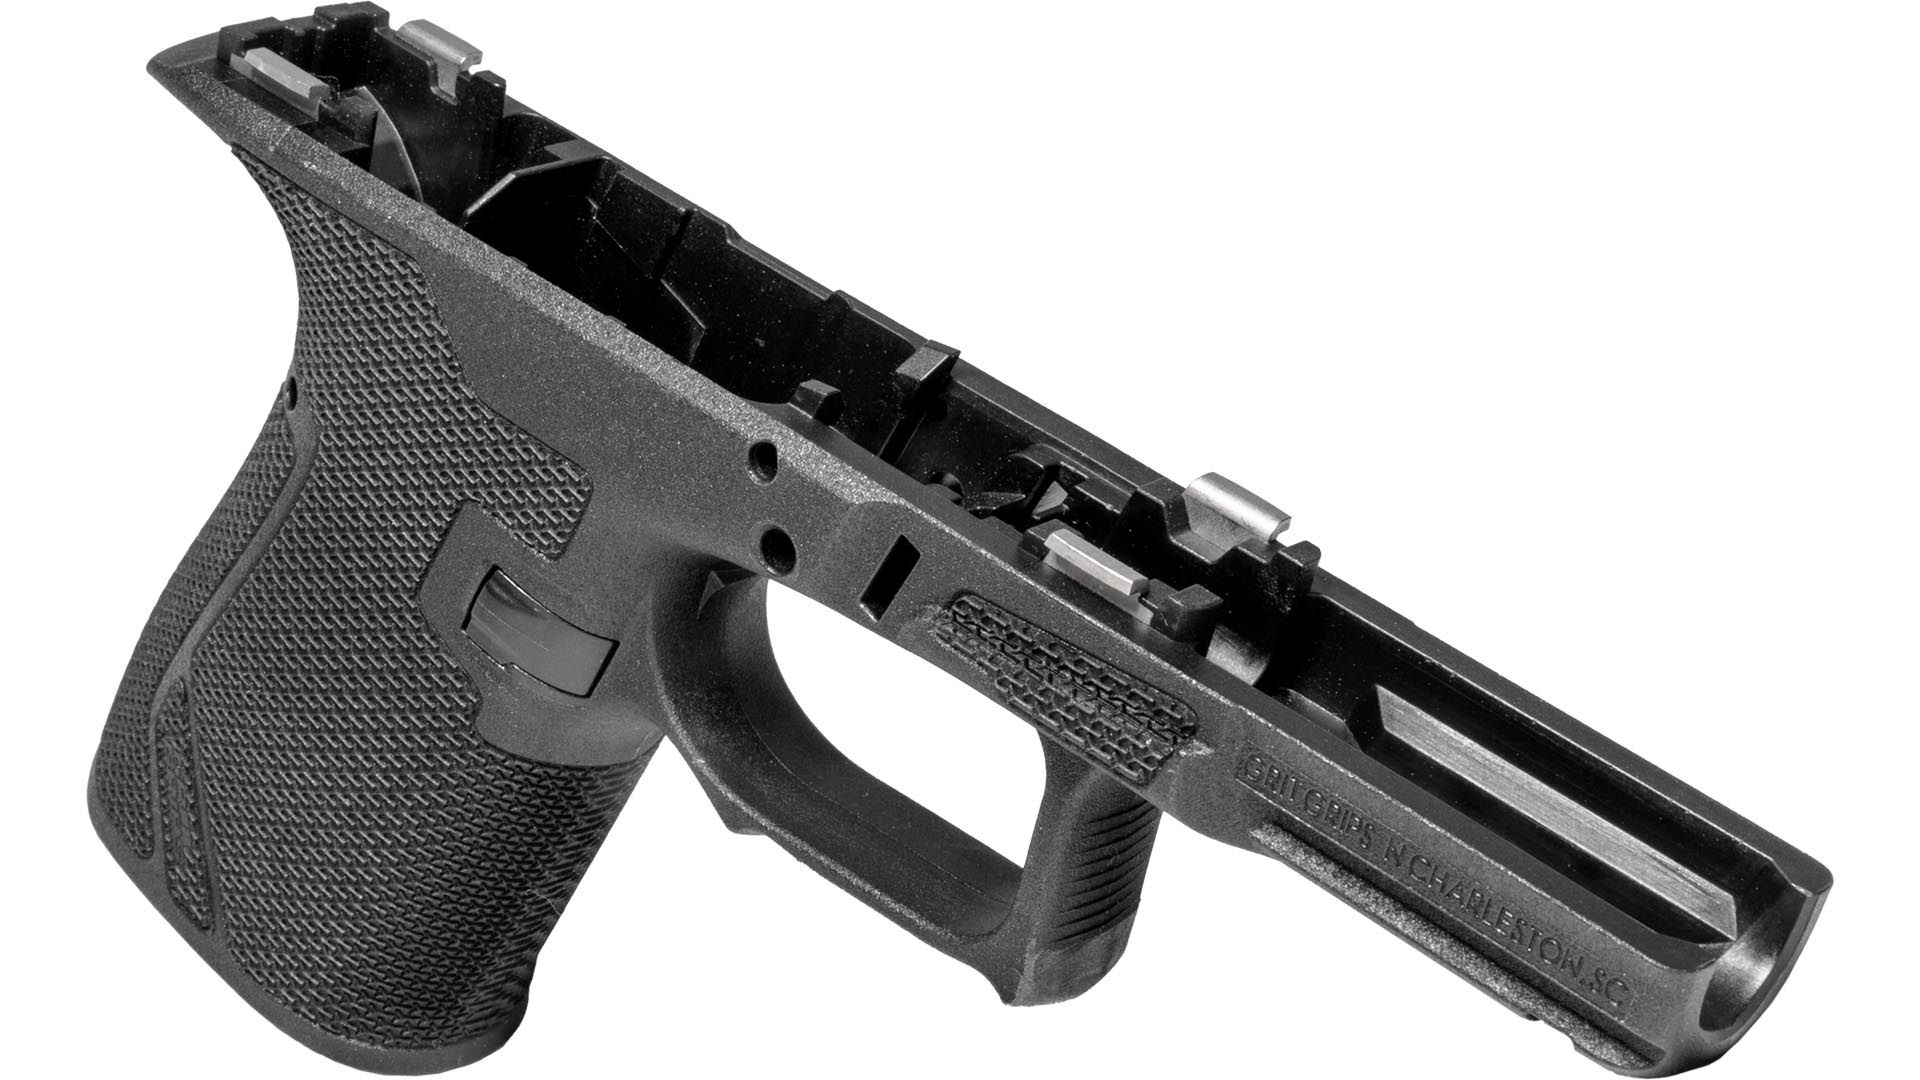

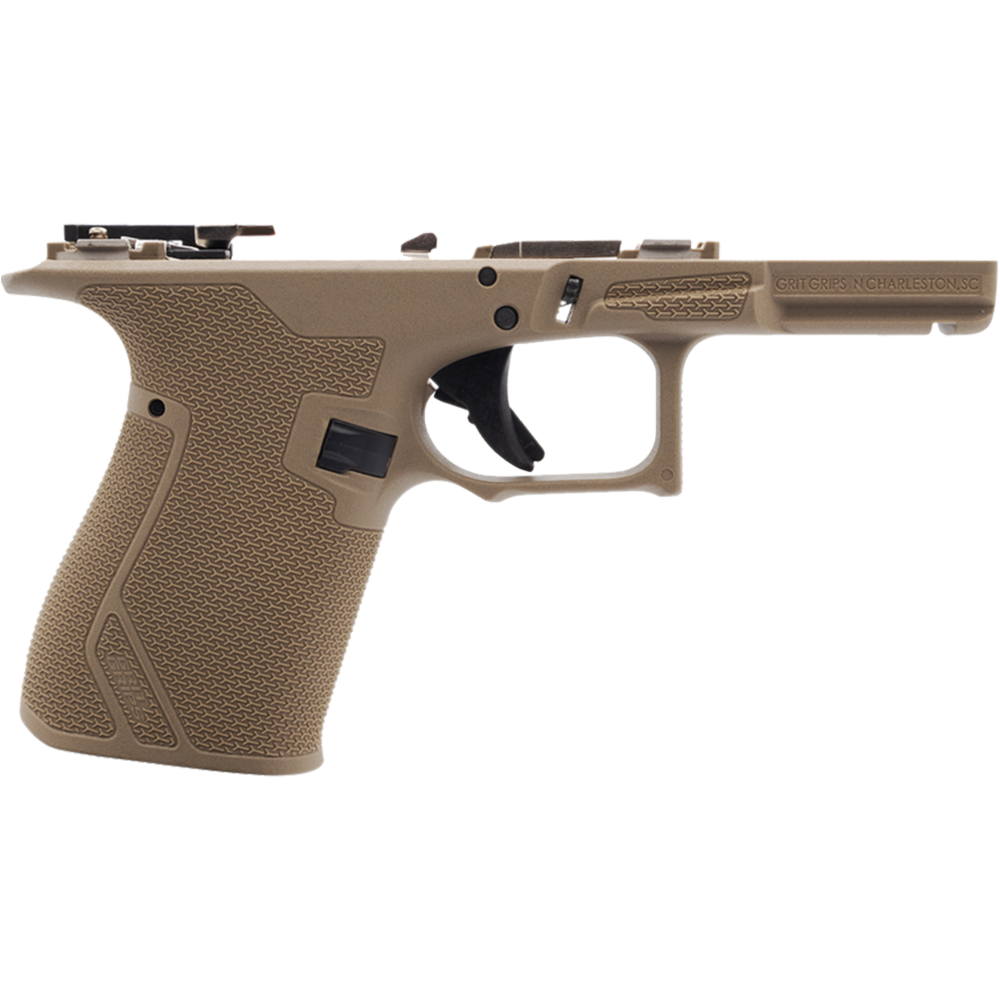
Parts
You will need the following parts to complete the assembly of your Grit Grips Pistol Frame for G19 Gen3 Pistols
- Magazine Catch with Spring
- Slide Lock w/ Spring
- Trigger Bar Assembly
- Trigger Housing
- Trigger Spring
- Connector
- Slide Stop Lever
- Locking Block
- Trigger Pin
- Trigger Housing Pin
- Locking Block Pin
We offer all these components in our Grit Grips Lower Parts Kit for Glock 19/17 (Locking Block sold separately).
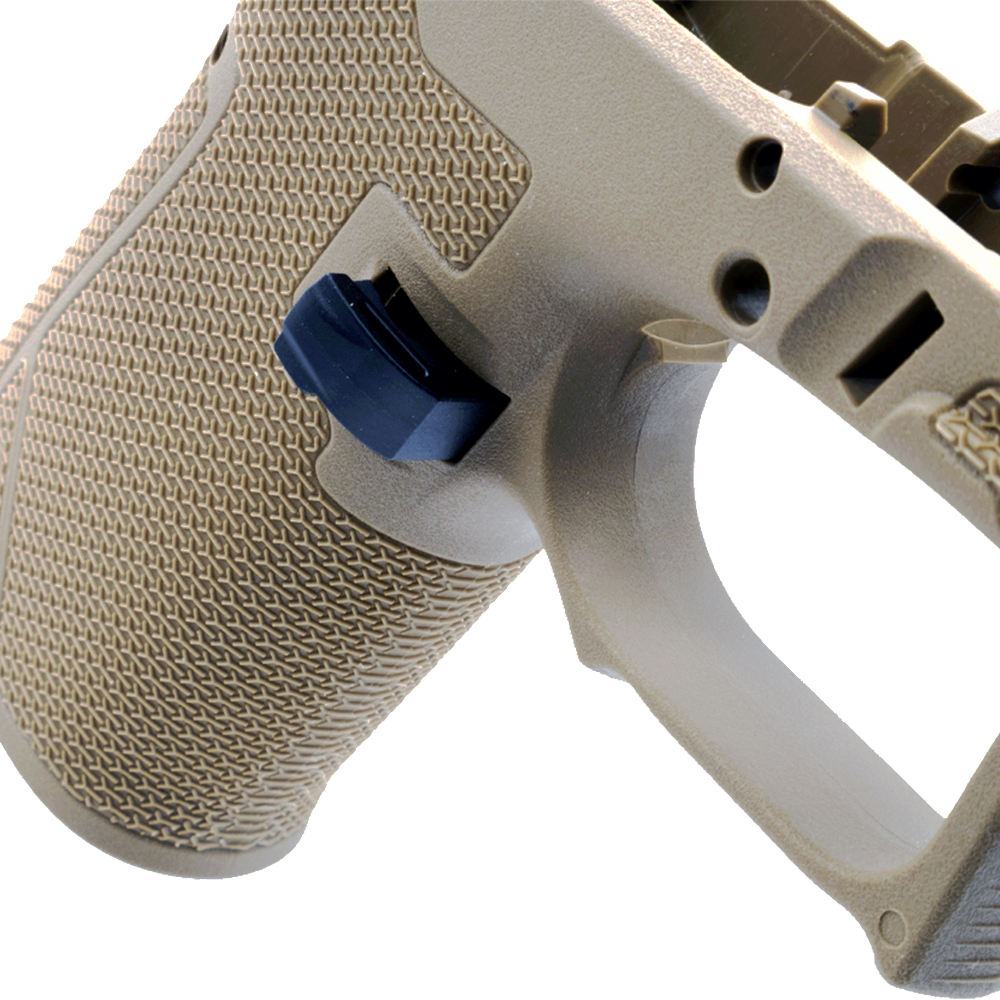
1. Magazine Catch & Magazine Catch Spring
The Grit Grips Pistol Frame was designed to use a Gen4 style reversible Magazine Catch (Gen3 Magazine Catch is not compatible).
For a right-handed shooter, the textured side of the Magazine Catch will be inserted from the right side of the Pistol Frame until fully seated [Image 1A].
While holding the Magazine Catch in place, insert the Magazine Catch Spring into the hole of the grip just below the Magazine Catch [Image 1B].
Use a long tool to push the top end of the Magazine Catch Spring into the groove of the Magazine Catch [Image 1C].
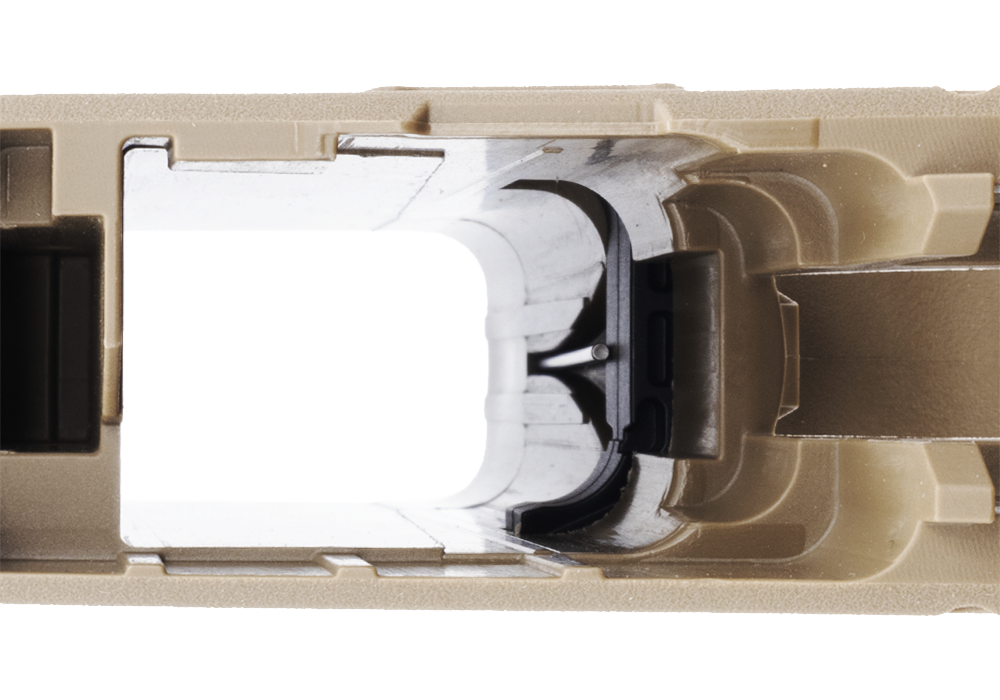
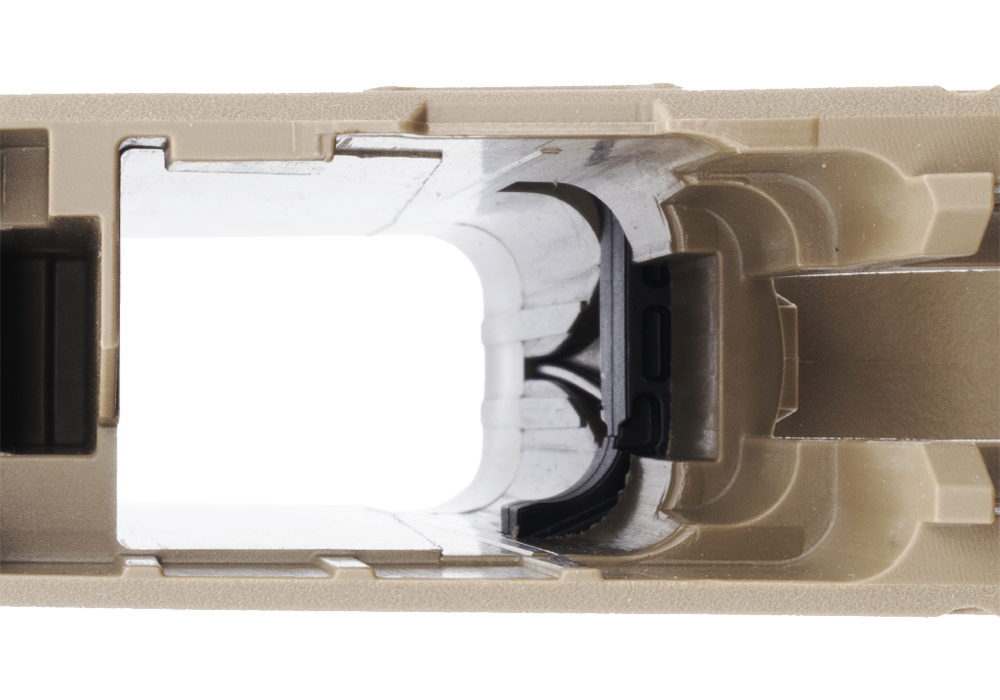
2. Slide Lock & Slide Lock Spring
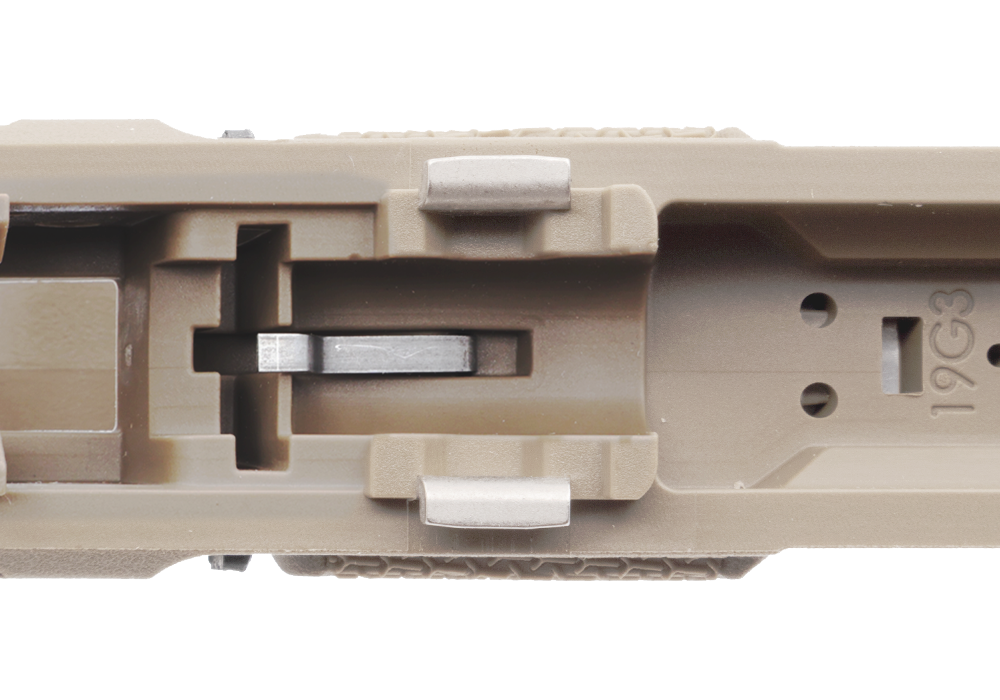
The Grit Grips Pistol Frame uses the Glock 19 Gen1-4 Slide Lock Spring (smaller spring included in our Lower Parts Kits). Insert the Slide Lock Spring into the Pistol Frame [Image 2A].
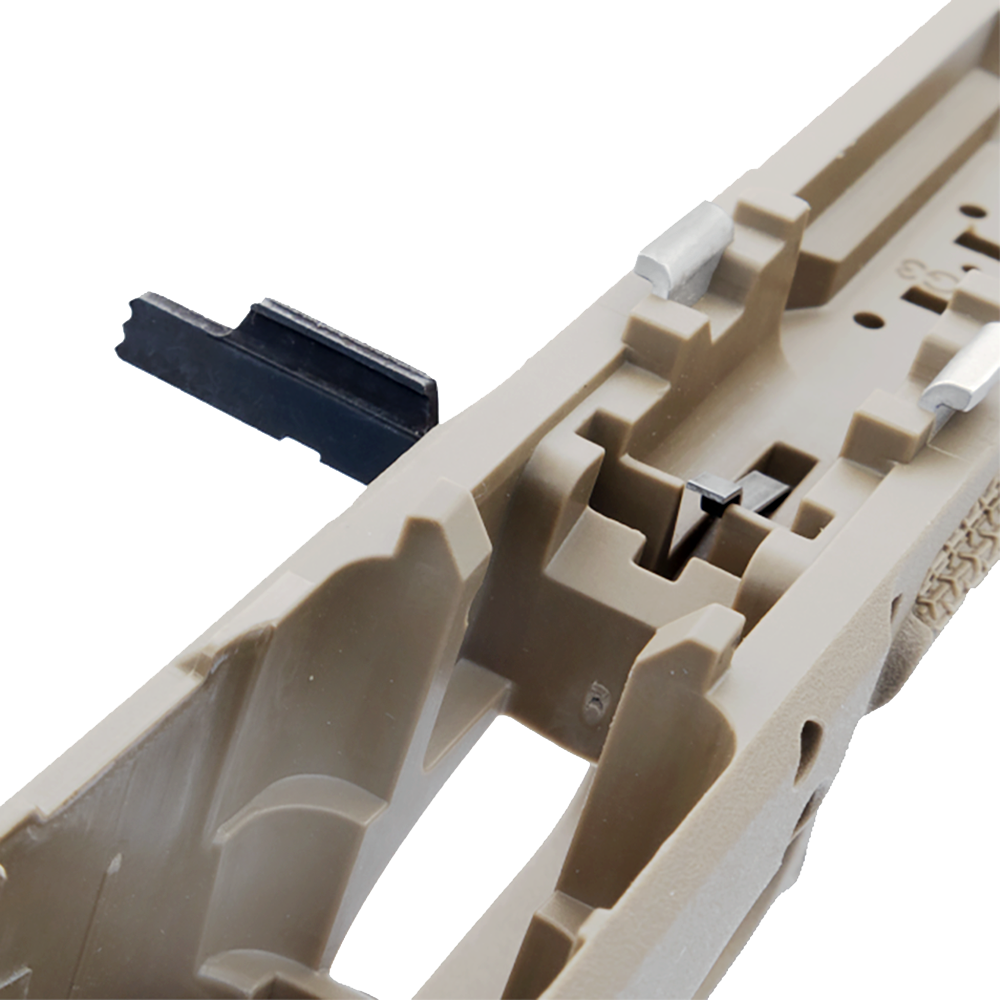
The Slide Lock, oriented with the groove facing rearward, is then inserted into its slot of the Pistol Frame [Image 2B].
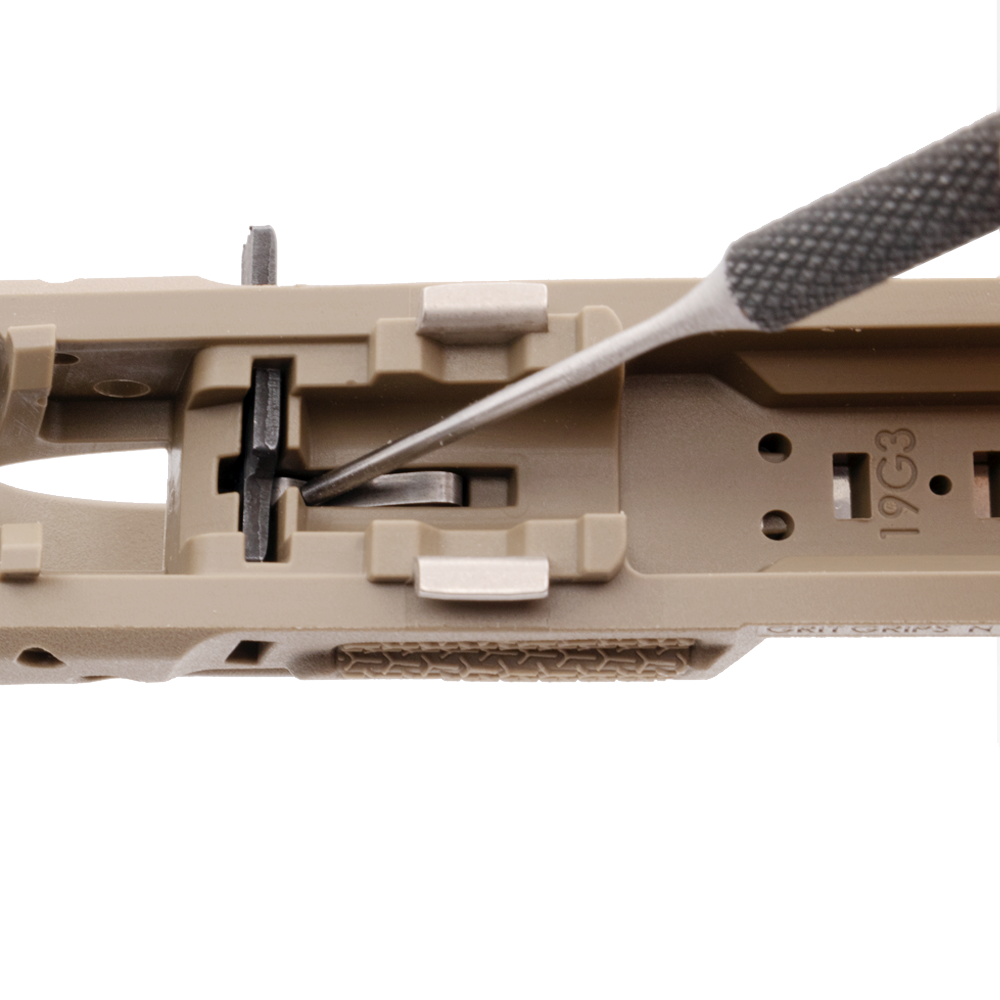
Use a tool to depress the Slide Lock Spring to allow the Slide Lock to move over it [Image 2C].
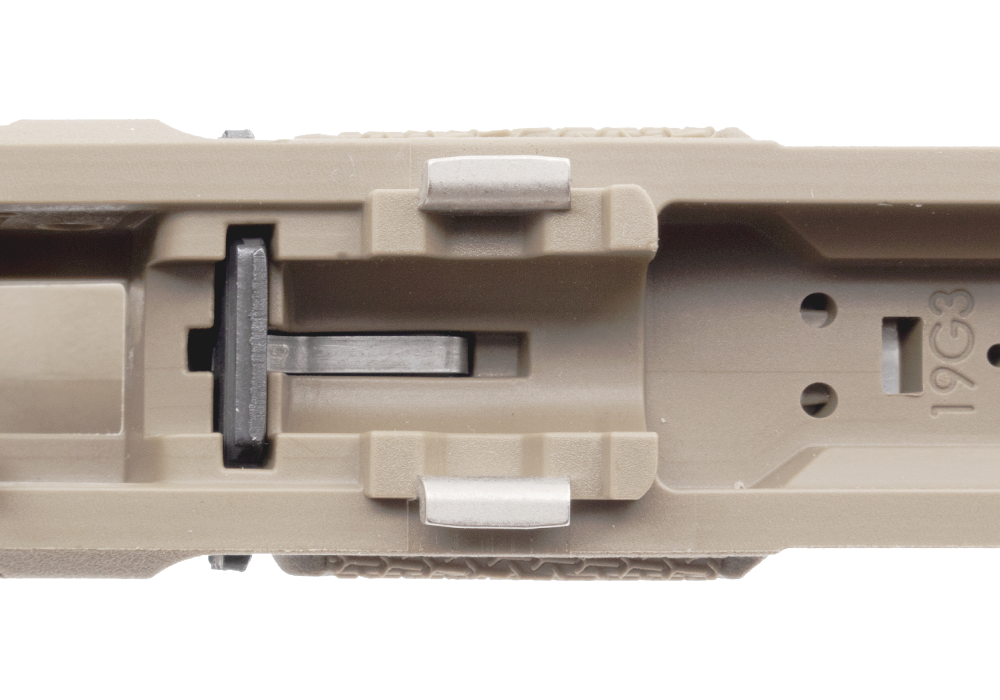
Continue to push in the Slide Lock until an audible click is heard. The Slide Lock should be centered with frame width and pushed all the way upward by the Slide Lock Spring [Image 2D].

3. Trigger Bar Assembly & Trigger Housing Components
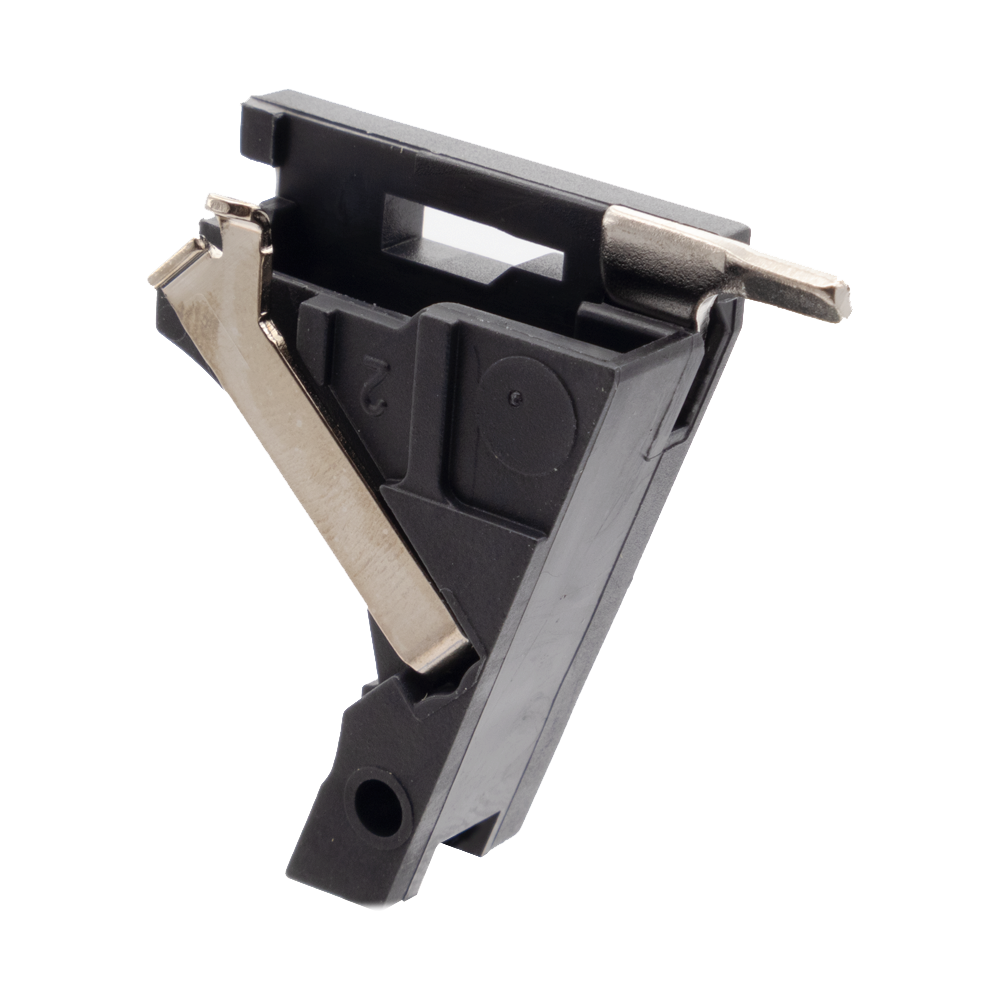
Install the Connector and Ejector into the Trigger Housing [Image 3A].
Feed one of the hook ends of the Trigger Spring into the rear hole of the Trigger Housing from the inside [Image 3B].
Take the opposite end of the Trigger Spring and feed it through the back side of the Trigger Bar hole [Image 3C].
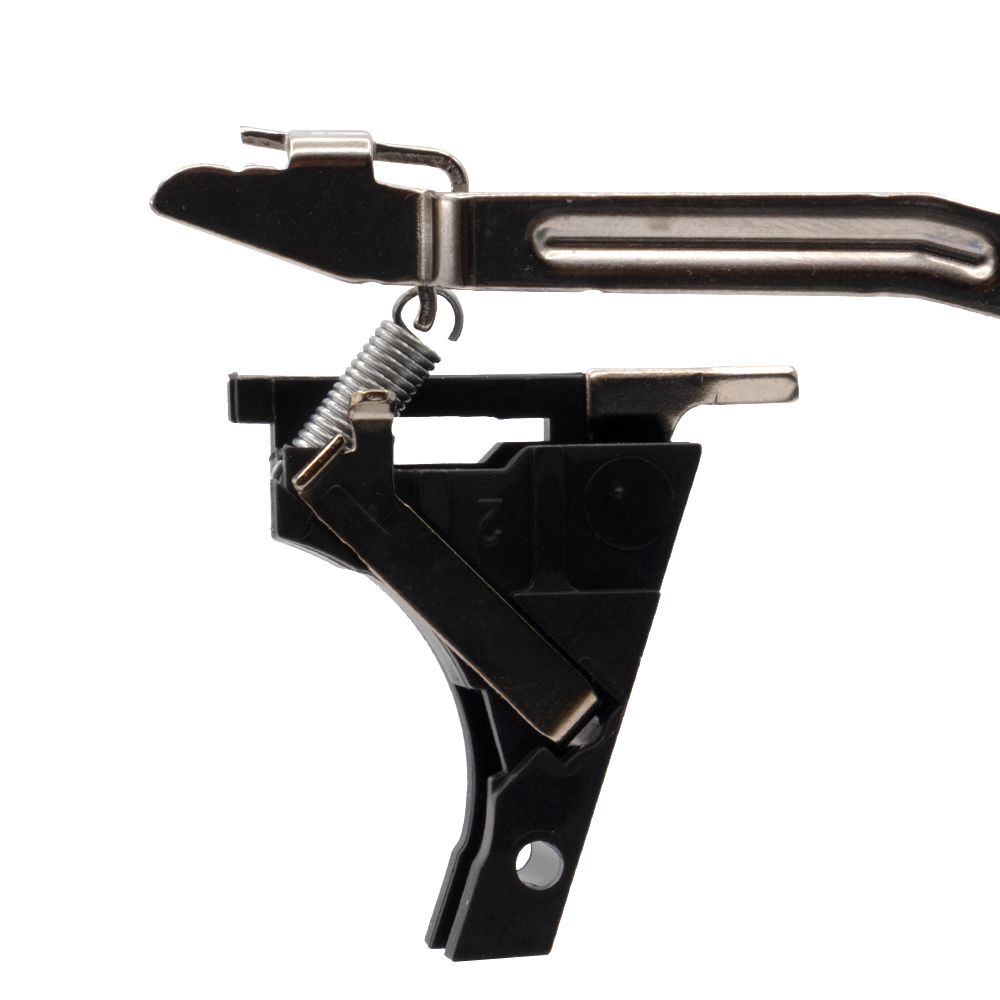
With the Trigger Housing in one hand and the Trigger Bar Assembly in the other, pull the Trigger Spring tight to make sure it stays looped around the bottom of the Trigger Bar and not the sides. Rotate the Trigger Bar slightly to insert the spring leg into the Trigger Housing and the Trigger Bar’s left arm is in the Trigger Housing’s left side window [Image 3D].
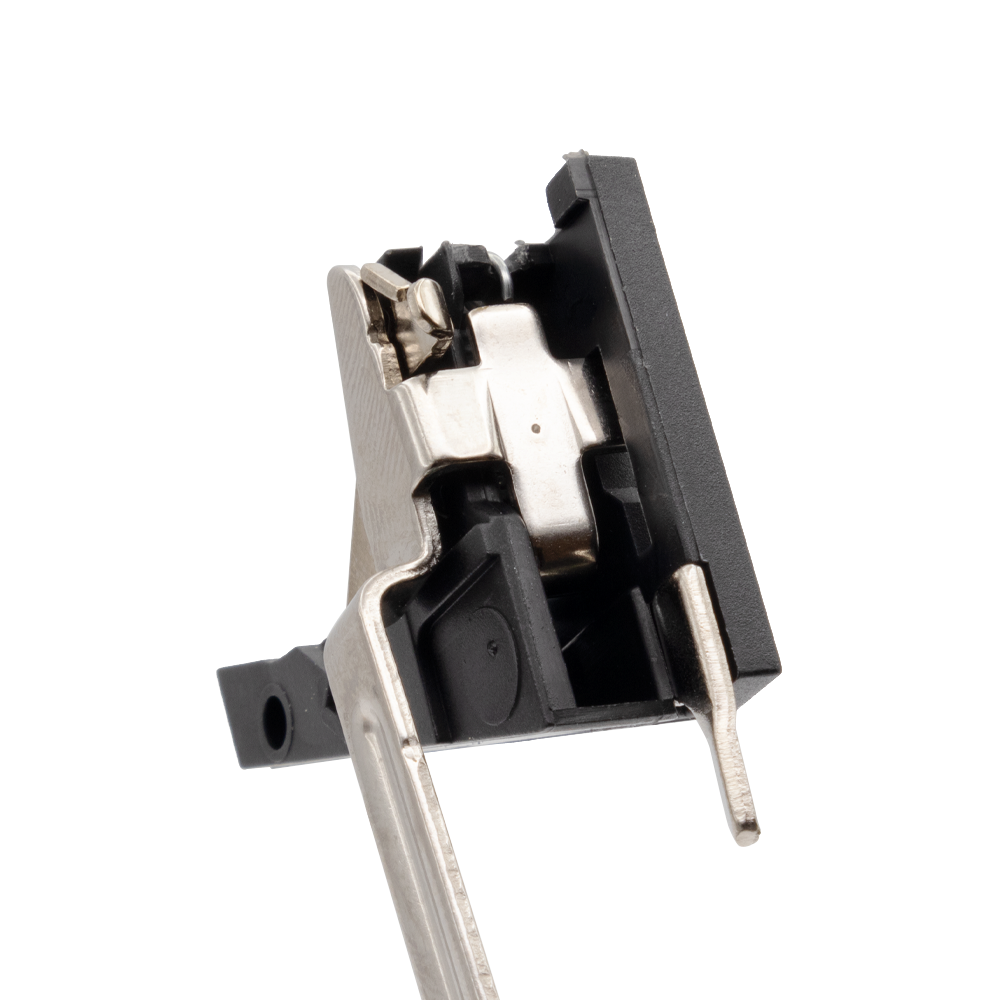
Insert the Trigger Assembly into the Pistol Frame [Image 3E].
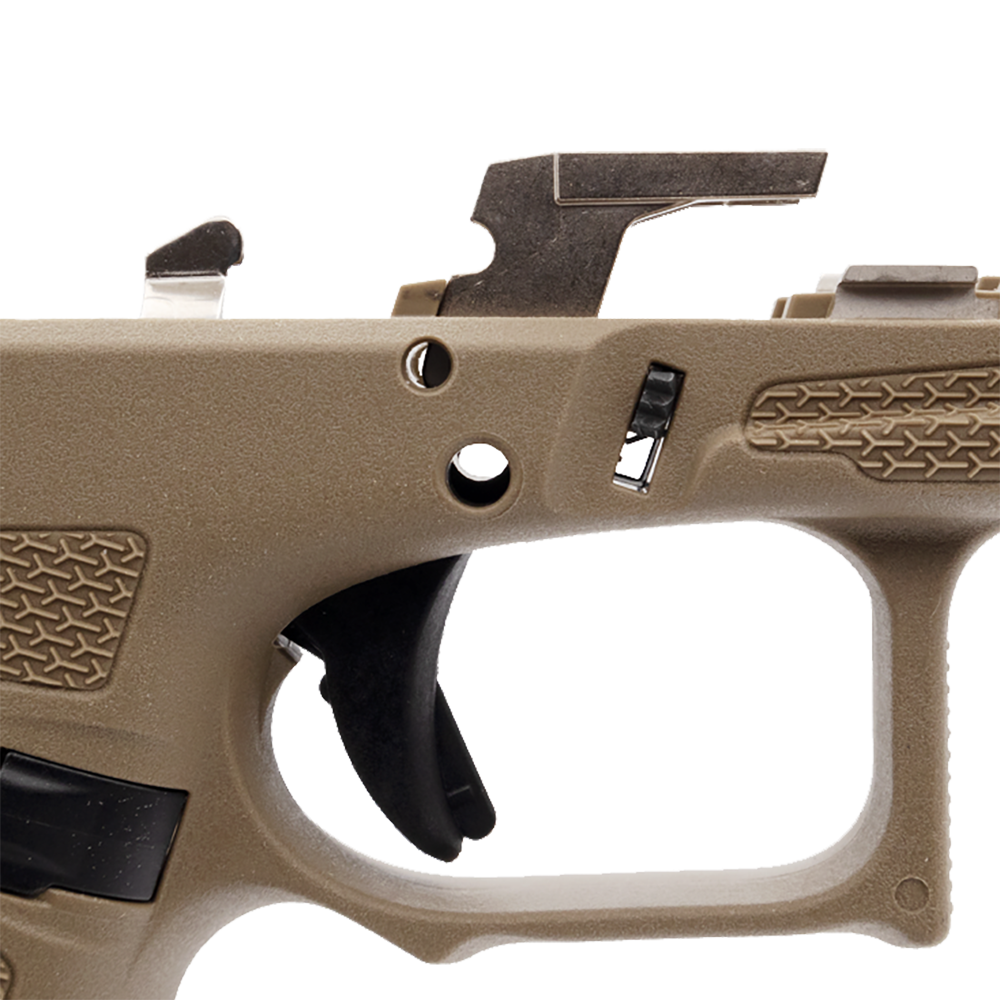

4. Locking Block, Slide Stop Lever and Frame Pins
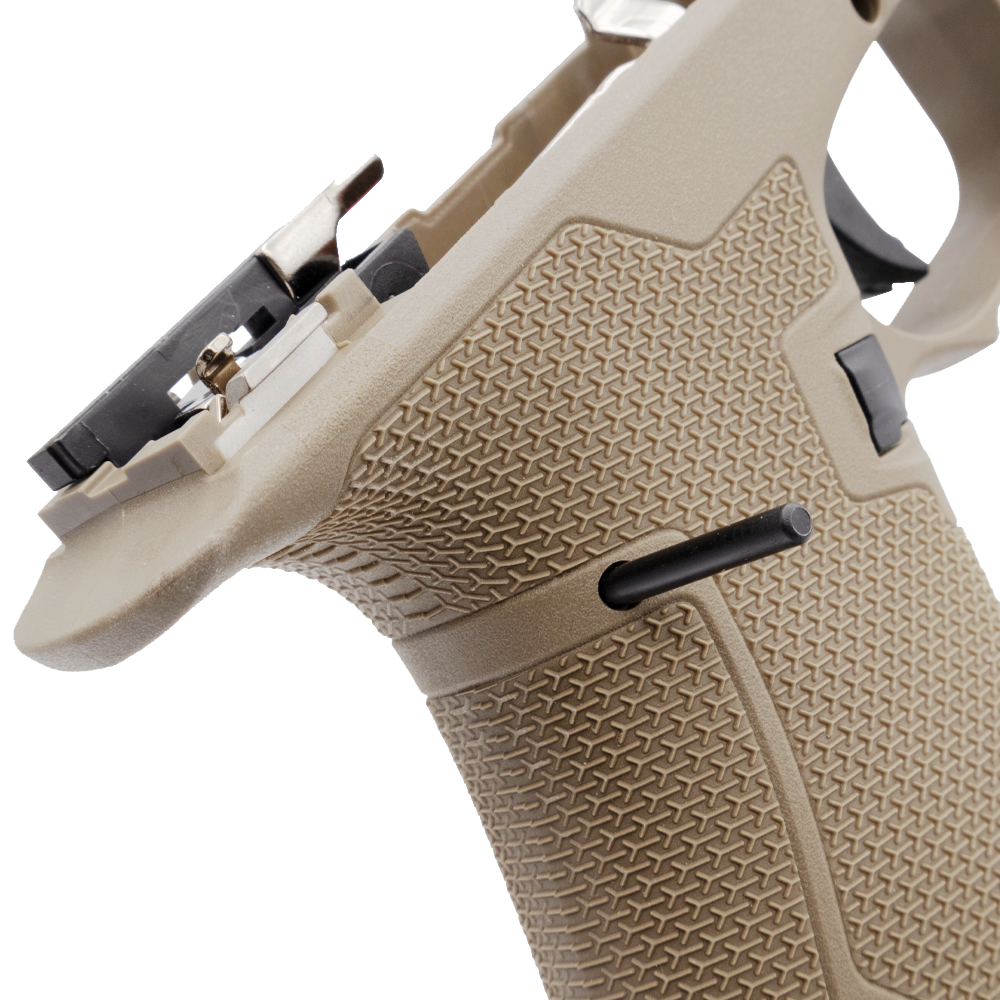
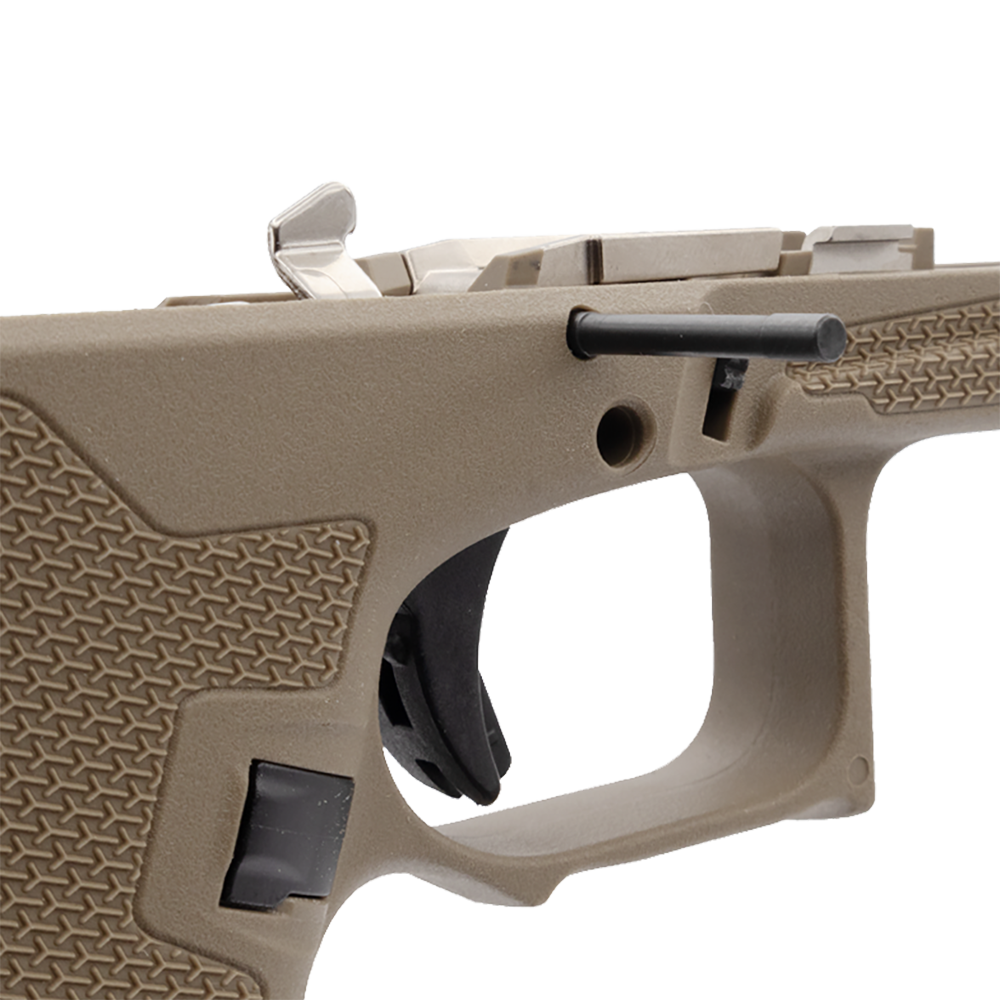
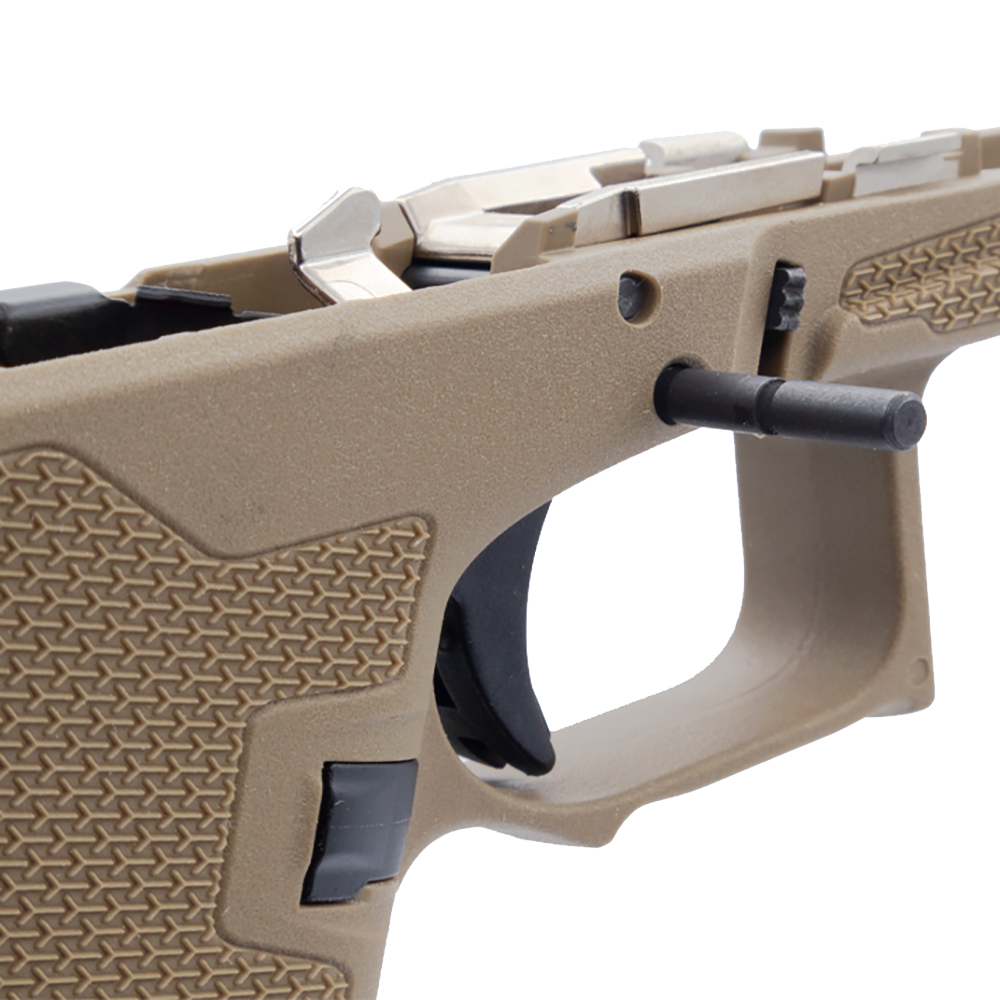
Install the Trigger Housing Pin first [Image 4A], making sure it is centered with the frame width. Insert the Locking Block [Image 4B] and Locking Block Pin [Image 4C], making sure it is centered with the frame. Fit the Slide Stop Lever under the Locking Block and left of the Trigger [Image 4D].
Insert the Trigger Pin from the right side of the grip [Image 4E].
The Trigger and Slide Stop Lever may need to be wiggled to align the Trigger Pin with the holes.
The Trigger Pin is fully inserted when you hear an audible click from the Slide Stop Lever falling into the Trigger Pin’s slot.

5. Lubricant/Grease
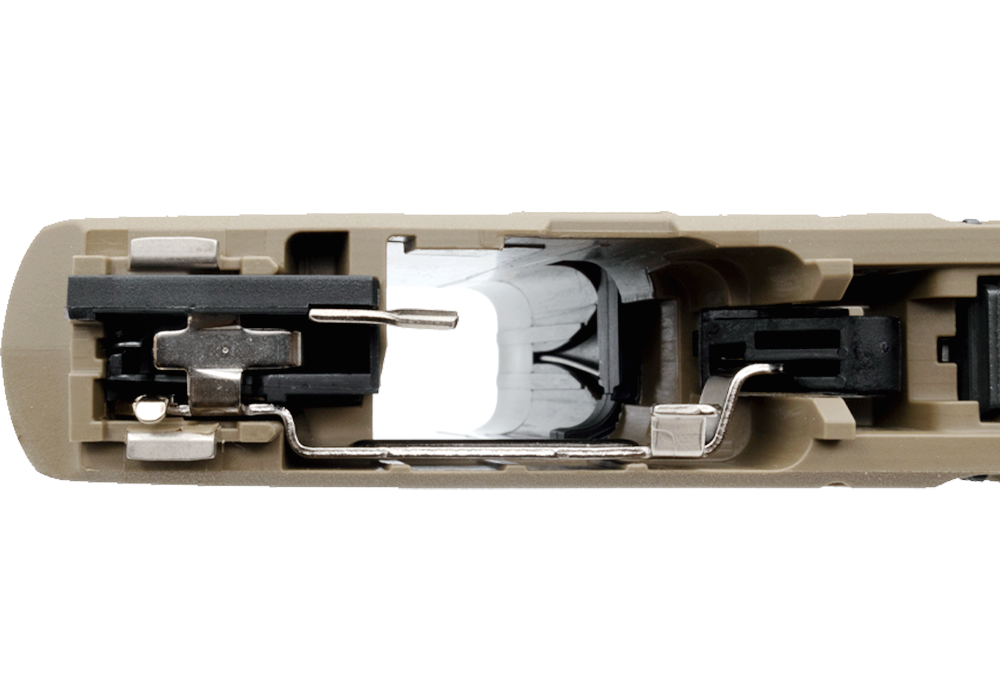
We recommend a light application of grease where the Trigger Bar meets the Connector [Image 5A].
LOCTITE LB8008 is recommended.
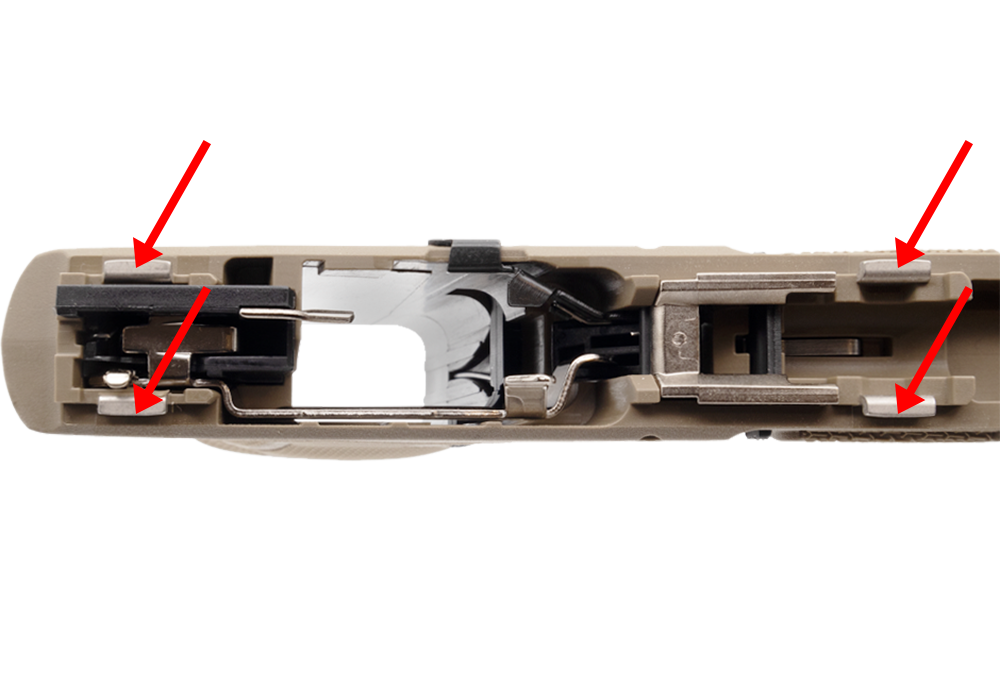
A very light application of gun oil/lubricant can be applied to the four Pistol Frame rails [Image 5B]. Over oiling can cause excessive build up of carbon and dirt that might impair the reliability of your pistol.
